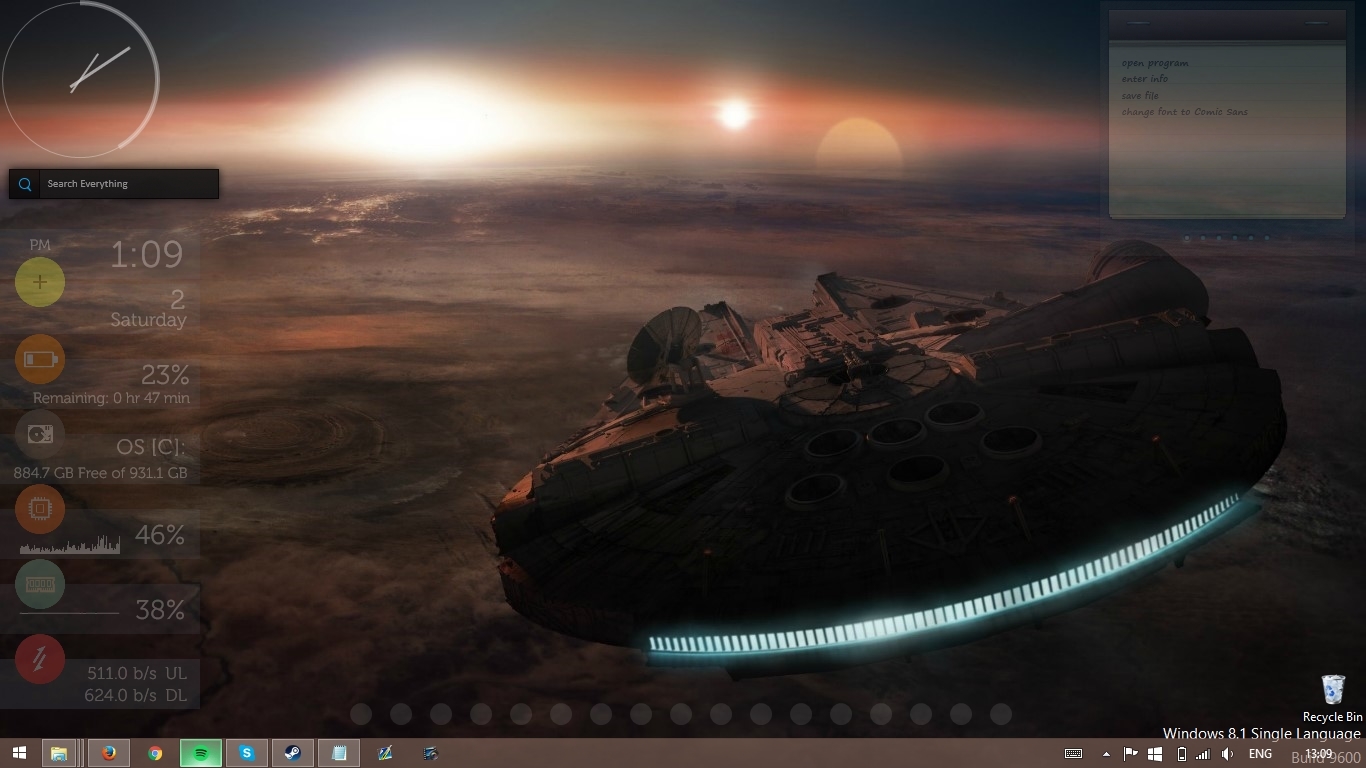
Step 1) Choose a snazzy desktop wall paper for your rainmeter skins to be placed upon. This wallpaper can be anything you want it to be but for this tutorial I am going to be using this image that i found on reddit.
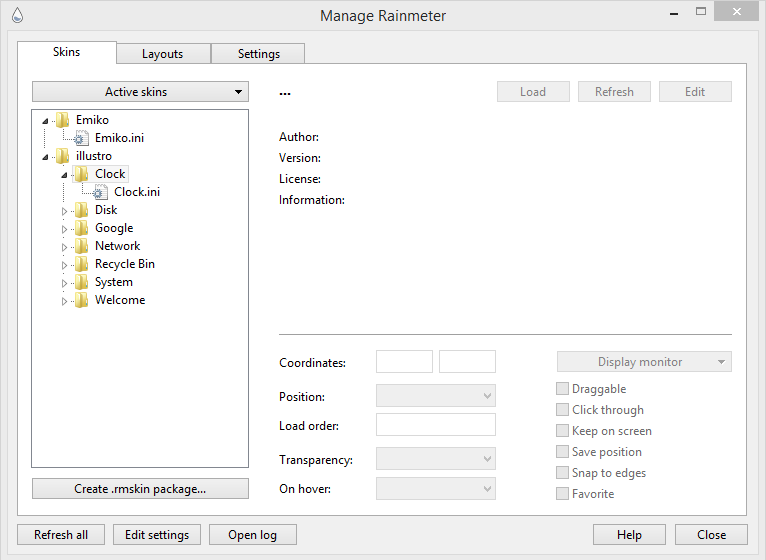
Step 2) Download rainmeter at the official rainmeter website and install it by double clicking the executable once downloaded. This will install rainmeter on to your PC and then it should be opened from the start menu so we can continue this tutorial.
Step 3) Download some Rainmeter skins or themes for use on your desktop. The skins you are looking for can be found at these websites [RainmeterHub, Customize.org, The Rainmeter forums]. Once you have finished downloading the skins that you want to used you should load them into rainmeter by doing the following. If the downloaded file is a .rmskin file you should just open it and it will be installed to rainmeter automatically. If however the file is a compressed file you should decompress it to find the .rmskin file and use that instead.

Here is my finished configuration! Feel free to comment yours.